Maton Supreme Restoration (Part 1)
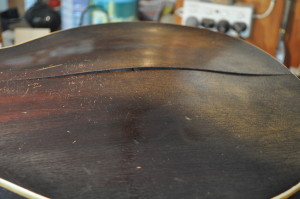
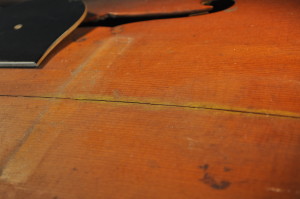
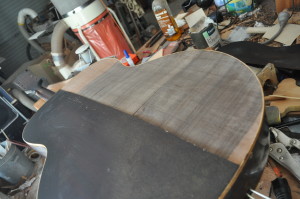
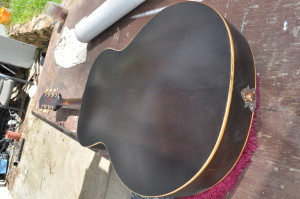
Every now and then I get a challenging and interesting repair job. Truthfully, this one was pretty far gone as an instrument and I was tossing up not doing the job, given the choice by the owner. The guitar was a 1952 arch top Maton Supreme – a style of guitar I don’t normally work on being a classical specialist. It had seen some good, and bad years. It was a much loved family heirloom, and so the fact that the repairs would likely exceed the value of the guitar wasn’t so important to the owner. In addition, the owner was very forgiving if after the work was done, it was still not going to be playable. It is my nature, when assessing a job, to give a worst case scenario and cost so that my clients won’t be caught out by surprise, and for this guitar there were a lot of unknowns to make a call on. The major one was that due to the extent of glue failure over the whole instrument, it may quite possibly pop open somewhere else after all the work was done. In addition, the laminated 3-ply back was more like a loose leaf 3 page book! I really needed to deconstruct the instrument as much as I could in order to clean out old failed glue so that I could attempt to put it back together.
The aim for this restoration was to keep the original feel and appearance within reason since that was part of the history and memories that were special to the owner. I would try my best to make this guitar stable and functional once more, with just a little attention to aesthetic damage and wear and tear. The back was the first thing to address as the feasibility of the restoration rested largely on how successful that part was. I deconstructed and cleaned out the veneers as well as I could while trying to ensure I didn’t destroy the original profile of the back.
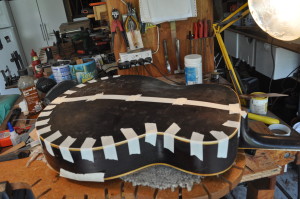
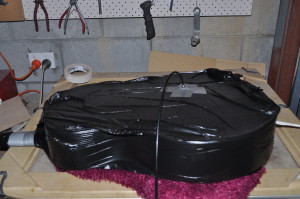
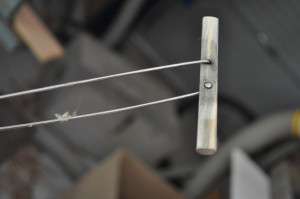
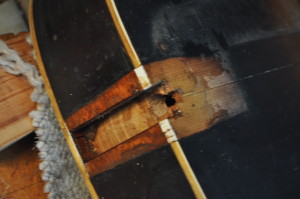
Once I cleaned out as much as possible, I used colour matched epoxy to rebond the veneers. I didn’t want yellow squeeze out along all the joints, and I needed some forgiveness with filling any voids and excellent bond strength and stability. I waxed the surfaces to minimise mess and damage to the original finish. There is a kind of urgency to getting the glue in and the plates all lined up and taped down and into the vacuum bag before the glue starts to go hard. I prepped the back by splinting it as much as I could internally so that it had some support. That was difficult due to access which was two f holes, and the strap pin hole in the bottom block. I made a tricky little rod from wood and two bike spokes that I could position inside the guitar through the 1/2″ strap pin hole. With careful attention to the pressure applied through the vacuum, I was extremely pleased to see the back was holding its shape and going down uniformly. It took 2 more runs with glue and vacuum to finally be happy that the biggest hurdle was behind me.
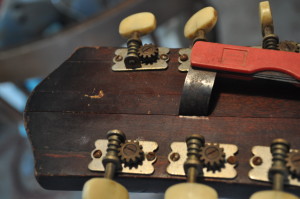
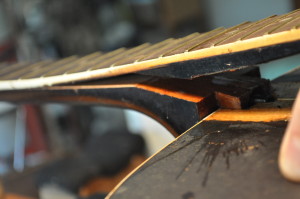
The neck had similar glue issues and was probably 70% delaminated. I realised that since the glue lines were so compromised, that it would (ironically) facilitate removal of the neck from the body and allow me to attend to that joint in the process. So, I removed the neck completely and set about cleaning failed glue from all parts and refitting the neck more precisely so there was no play in the joint on reassembly.
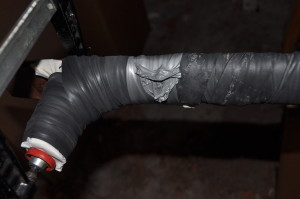
Again, once cleaned out and aligned, the neck is reassembled. I used one of a luthiers favourite glues, Titebond – it is a nice all purpose water based glue which is non toxic. Here I am using old bike tubes to wrap and compress the neck back to shape while the glue dries. Part 2 of this process coming soon!
You must be logged in to post a comment.
